How to Build Acoustic Panels for Better Soundproofing at Home
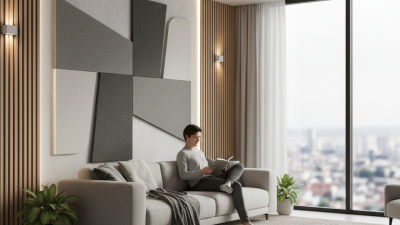
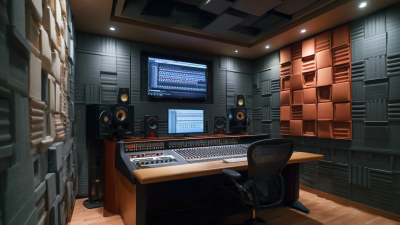
In today's fast-paced world, creating a serene and tranquil living environment has become increasingly important. One effective way to achieve this is through building acoustic panels, which can significantly enhance the sound quality within your home while reducing unwanted noise. Acoustic panels are not only practical but can also be aesthetically pleasing, allowing you to personalize your space while improving its auditory characteristics.
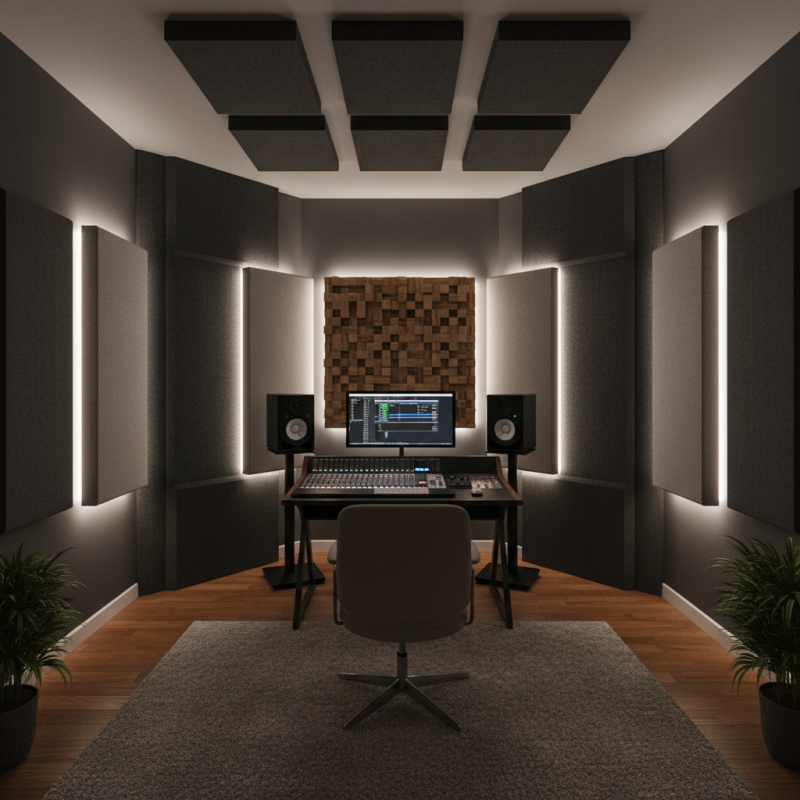
Understanding the need for better soundproofing is essential, especially in urban areas where external noise can be disruptive. By strategically placing acoustic panels in key locations, you can manage sound reflections and reverberations, creating a more pleasant atmosphere for relaxation, work, or entertainment. This guide will explore the fundamental aspects of building acoustic panels, covering essential materials, design considerations, and installation tips to empower you to transform any room in your home into a quieter and more acoustically balanced space. Whether you're a DIY novice or a seasoned handyman, learning how to effectively build these panels will enhance your living experience and contribute to a more harmonious home environment.
Materials Needed for DIY Acoustic Panels at Home
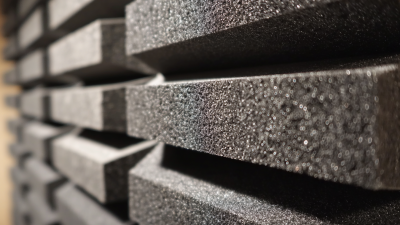
To create effective acoustic panels for soundproofing at home, you need to gather several key materials that will help absorb sound and minimize noise disturbances. The primary component for the core of the panel is acoustic foam or mineral wool. These materials are excellent at trapping sound waves, reducing reverberation, and improving the overall sound quality of a room. Depending on your preference, you can choose between various thicknesses of foam or panels, as thicker materials often provide better sound absorption.
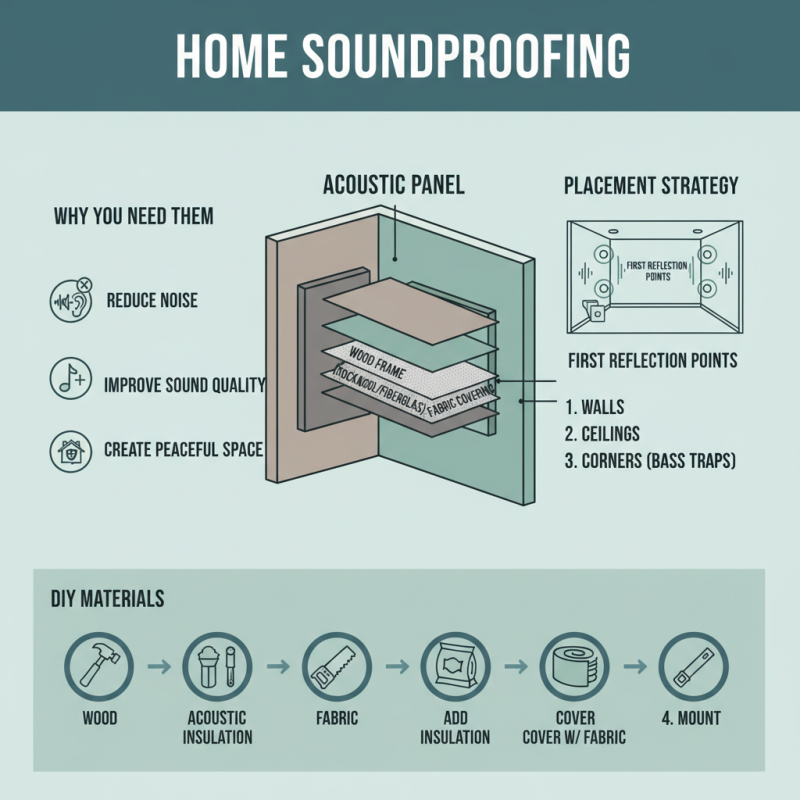
In addition to acoustic foam or mineral wool, you will need a sturdy frame to hold your panels together. Plywood or MDF (medium-density fiberboard) works well for constructing the frames. These materials provide the necessary support while keeping the panels lightweight and easy to mount. To finish off your DIY acoustic panels, fabric is essential; choose a breathable upholstery fabric that complements your home's decor. This fabric should cover the foam or wool and the frame, allowing sound waves to pass through while also enhancing the aesthetic appeal of your panels. Lastly, ensure you have adhesive or staples on hand for securing the fabric to the frame for a neat and polished look.
How to Build Acoustic Panels for Better Soundproofing at Home
| Material |
Description |
Dimensions (inches) |
Cost (approx.) |
| Acoustic Foam |
Soft and porous, absorbs sound waves |
24 x 48 |
$30 |
| Fabric |
To cover the acoustic panels and enhance aesthetics |
Commonly 54 wide |
$10 per yard |
| Wood Frame |
Holds the insulation material |
2 x 4 |
$5 |
| Insulation Material |
Absorbs sound and reduces echo |
24 x 48 |
$15 |
| Adhesive |
To attach materials together |
N/A |
$8 |
Step-by-Step Guide to Cutting and Assembling Acoustic Panels
Constructing acoustic panels is a rewarding DIY project that can significantly enhance the soundproofing of your home. To start, gather the essential materials: sound-absorbing foam or fibrous insulation, a sturdy frame (usually made from wood), fabric for covering, adhesive, and a staple gun. Begin by measuring the desired dimensions for your panels based on the specific area you want to treat. It’s advisable to create different sizes for various locations, depending on your room's acoustics.
Once everything is measured and cut, assemble the frame by joining the wooden pieces using screws. Ensure that the corners are sturdy enough to hold the insulation material securely. Next, place the sound-absorbing material inside the frame and fix it firmly. After that, wrap the entire assembly with the fabric of your choice. Use a staple gun to secure the fabric neatly on the back of the frame, ensuring a clean look. Lastly, mount the panels on your walls at strategic points to maximize sound absorption and achieve a quieter atmosphere in your space.
Techniques for Properly Installing Acoustic Panels on Walls
When installing acoustic panels on walls, proper placement and technique are crucial to maximizing their soundproofing capabilities.
First, identify the key areas in your room where sound reverberates the most, typically the corners and the center of each wall.
Start by measuring these areas to determine how many panels you’ll need. Consider using a sound meter or a smartphone app to find the optimal locations for installation.
Before mounting the panels, ensure the wall surface is clean and free from dust. You can use adhesive strips or wall anchors based on the weight of your panels.
It’s advisable to use a level when hanging the panels to maintain a straight appearance, enhancing both the aesthetic and effectiveness of your soundproofing efforts.
Tips:
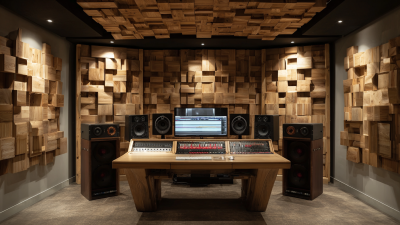
To create a more dynamic sound environment, stagger your panels instead of placing them in a straight line.
Mixing different panel sizes can also improve acoustic performance. For a more professional look, consider framing your panels with decorative wood or fabric that complements your room’s decor.
Best Placement Strategies for Maximum Soundproofing Effectiveness
When considering the most effective placement for acoustic panels, it’s essential to focus on key areas in your home where sound tends to bounce or travel. Start with the corners of the room, often referred to as "bass traps." Placing panels in these areas helps to absorb low-frequency sounds and reduces echo, significantly improving overall sound quality. Additionally, consider positioning panels at first reflection points on walls and ceilings. To identify these points, sit in your usual listening position and have someone move a mirror along the walls until you can see the reflection of your speakers. This will help locate optimal spots for panel installation.
Another effective strategy involves the symmetrically balanced placement of acoustic panels. Ensuring that panels are evenly distributed across the walls and optimizing the placement based on the room’s layout can enhance sound absorption significantly. In multi-room setups, treating adjoining walls that separate spaces can help prevent sound leakage. Furthermore, don’t forget about ceiling panels; they can be invaluable in high spaces where sound can easily become trapped. By following these placement strategies, you can maximize the soundproofing effectiveness of your acoustic panels, creating a more enjoyable auditory experience in your home.
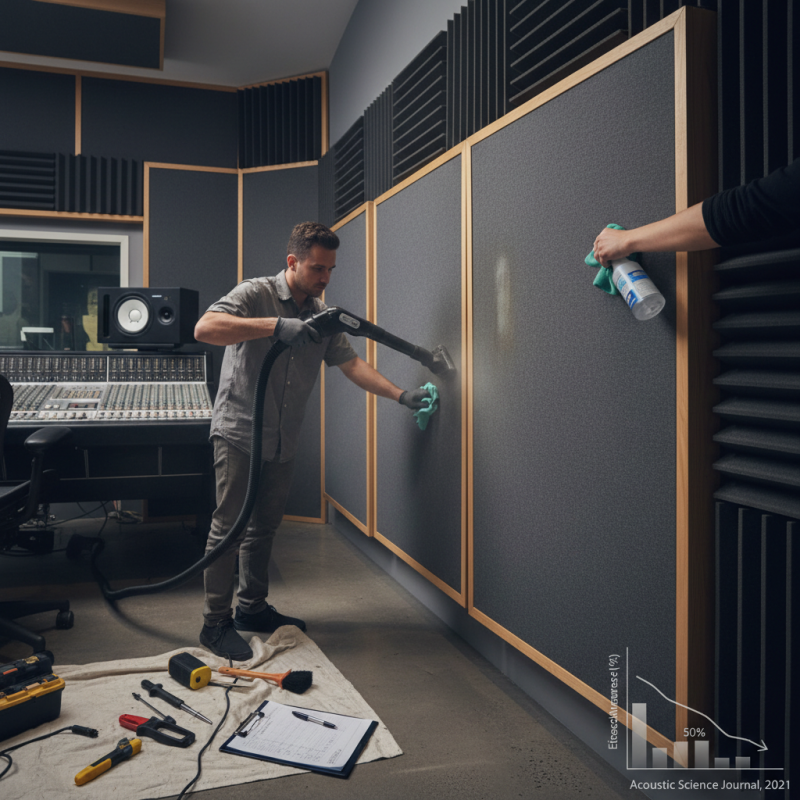
Maintaining and Upgrading Your Acoustic Panels Over Time
To maintain and upgrade your acoustic panels over time, it's essential to regularly assess their performance and condition. Research indicates that poorly maintained panels can lose up to 50% of their effectiveness over a period of two to three years (Acoustic Science Journal, 2021). Regular inspection should include checking for any signs of wear, stains, or damage that may impede sound absorption capabilities. It's advisable to clean fabric surfaces with a vacuum or an upholstery cleaner to prevent dust accumulation, which can significantly impact acoustical properties.
Upgrading your acoustic panels involves knowing when to replace or enhance your existing installations. Materials used in acoustic panels can degrade due to environmental factors such as humidity and temperature changes. According to the National Council of Acoustical Consultants, replacing panels every five to seven years can yield measurable improvements in sound quality and overall room acoustics. Additionally, consider integrating newer technologies like sound diffusers or utilizing high-density insulation for increased soundproofing effectiveness. Emphasizing an effective maintenance routine and timely upgrades will ensure your acoustic panels provide optimal performance for years to come.