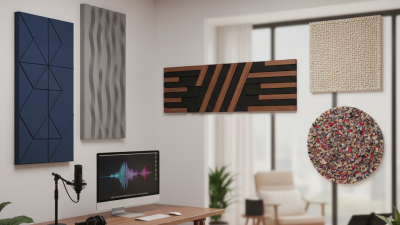
How to Choose Acoustic Panels for Your Home Studio?
Choosing the right acoustic panels for your home studio is crucial for sound quality. Renowned acoustics expert Dr. Sarah Lee once stated, "The right panels can transform a dull space into a vibrant sound environment." Acoustic panels absorb sound, reducing echoes and improving clarity.
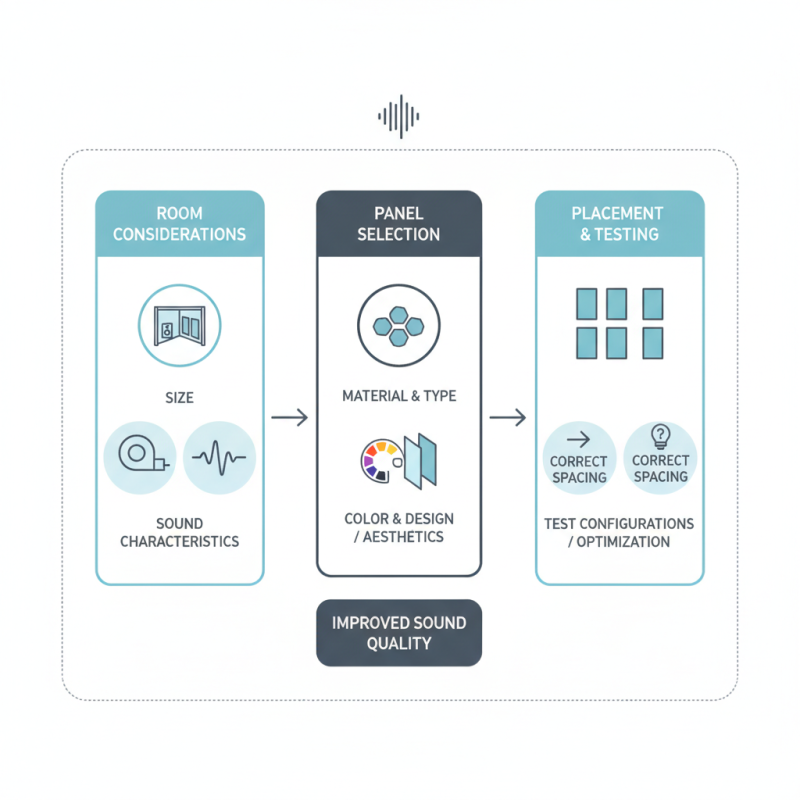
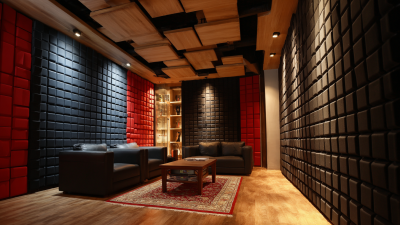
When selecting acoustic panels, consider the room size and sound characteristics. A small room may need fewer panels, but spacing them correctly is vital. Color and design should match your aesthetics, as these panels will be a part of your decor. It’s about striking a balance between functionality and style.
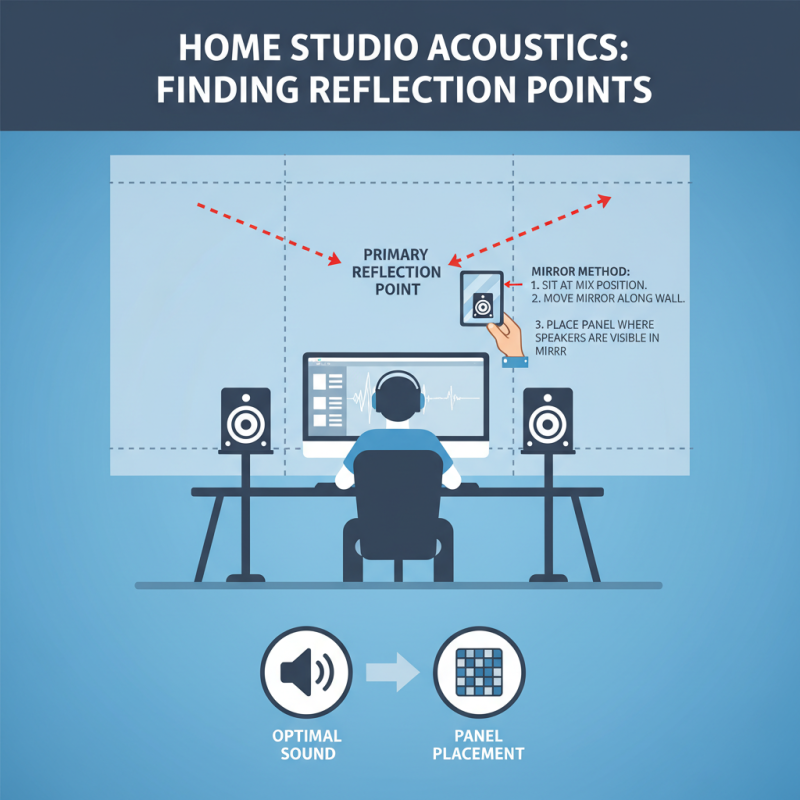
Not all panels are created equal. Many people overlook their placement's importance. Panels placed too high or too low often fail to achieve the desired effect. Reflecting on your space's needs is essential in this process. You might need to test different configurations to find the best setup for your home studio.
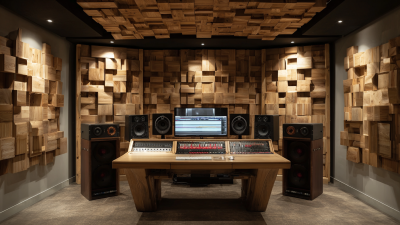
Choosing the Right Acoustic Panel Material: Foam vs. Fabric vs. MDF
Choosing the right acoustic panel for your home studio is crucial. Let's focus on three popular materials: foam, fabric, and MDF. Each material has distinct characteristics and benefits.
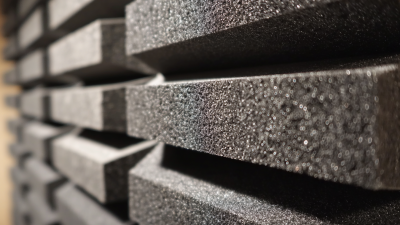
Foam panels are lightweight and easy to install. They are often used in smaller studios. Their porous structure helps absorb sound effectively. However, foam can wear out over time. It might lose its effectiveness and require replacement.
Fabric panels look great and can enhance your studio's aesthetics. They also absorb sound well. You can customize the fabric design to match your space. On the downside, dust can accumulate and may require regular cleaning. It's essential to choose high-quality fabric to avoid fraying.
MDF panels offer a solid option. They can provide excellent sound absorption. These panels are durable and have a sleek finish. But, they can be heavier and more challenging to install. Ensure the weight won't be an issue for your setup.
Tips for selecting materials: Consider your studio size. Make sure the area is well-balanced. If you’re unsure, mix different panel types. Test their sound absorption qualities in your space. This trial and error can lead to the best results.
Understanding Sound Frequency Ranges and Their Impact on Acoustic Treatment
When choosing acoustic panels for your home studio, understanding sound frequency ranges is crucial. Different frequencies affect how sound waves behave in a space. Low frequencies, such as bass, can cause muddiness. Treating these frequencies requires thicker panels. They absorb sound better and reduce resonances.
Mid-range frequencies are essential for clarity. They typically range from 250 Hz to 2000 Hz. Panels designed for this range are key when recording vocals or instruments. Softer materials like foam can work well, but placement matters. You might need to test different spots on the walls. It’s often about trial and error.
High frequencies can create sharpness and echoes. Panels that are denser and perforated help reduce these effects. Reflection from walls can be problematic. Consider experimenting with different designs and layouts. Sometimes, the best solutions come from unexpected combinations. You might not achieve perfect acoustics right away. That's okay. Learning from each adjustment is part of the process.
Calculating the Required Number of Panels for Optimal Sound Absorption
When designing your home studio, calculating the required number of acoustic panels is crucial. A well-placed panel can significantly reduce sound reflections and improve overall sound quality. Research suggests that for optimal sound absorption, you should cover 15-25% of wall surfaces. This ratio ensures that sound waves are effectively dampened without creating an overly "dead" environment.
To determine the exact number of panels, you should measure your room's dimensions. Divide the total wall area by the area covered by a single panel. For example, if your room has 500 square feet of wall space and each panel is 2 square feet, you would need around 125 panels for optimal coverage. However, this number can feel overwhelming. Instead, start with a few strategically placed panels and gradually add more based on what you hear.
Tips: Test different panel placements. Sometimes, a panel in an unexpected location offers the best results. Use a mix of panel sizes for varied absorption rates. Keep in mind that too many panels can absorb all reflections, resulting in a dull sound that lacks dynamics. Listen often and adjust as needed.
Remember, there’s no one-size-fits-all solution. Each room's acoustics vary. You might find that you need fewer panels than suggested. Don't hesitate to experiment with placement and quantities. Finding the right balance takes time and careful listening.
How to Choose Acoustic Panels for Your Home Studio?
This chart illustrates the recommended number of acoustic panels based on different room sizes measured in square feet. As the size of the room increases, the number of panels needed for optimal sound absorption also increases.
Budgeting for Acoustic Treatment: Cost-Effective Options and Quality Brands
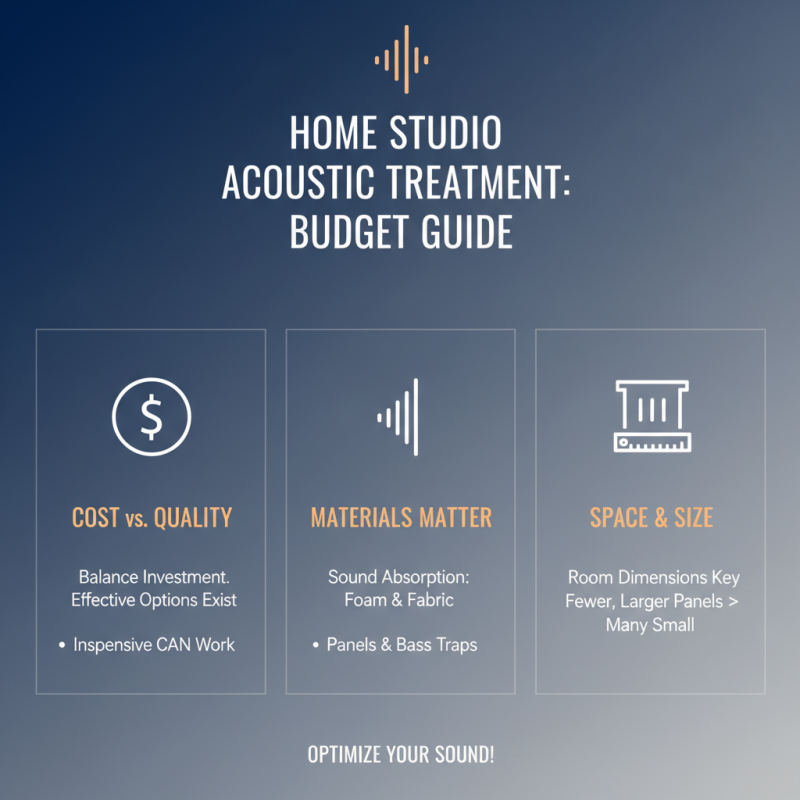
When budgeting for acoustic treatment in your home studio, consider options that balance cost and quality. Acoustic panels come in various price ranges. Some inexpensive solutions can still be effective. Look for materials that absorb sound well, like foam or fabric-wrapped panels. Keep in mind the dimensions of your space. A few larger panels might work better than several small ones.
Tips: Think about DIY solutions! You could create your own panels using rockwool and wood frames. This can save money while providing great absorption. Another consideration is second-hand options. Sometimes, you can find quality panels being sold at a fraction of the cost.
Quality brands do exist, but they don’t have to break the bank. Sometimes, overlooked companies provide solid products at lower prices. Test different options. Ensure they meet your specific soundproofing needs. Remember, the goal is to reduce echo and improve clarity, not just fill the walls. Reflect on how these choices impact your sound.